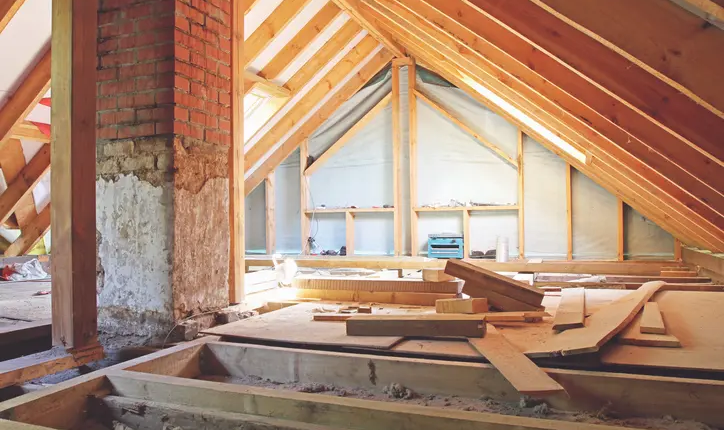
make your home more energy-efficient
If you want to make your home more energy-efficient, one of the best places to start is with your loft. Installing insulation in your attic can help prevent heat from escaping your home, reducing energy bills, and making your home more comfortable. Below are the steps involved in installing loft insulation, so you can get started on improving your home’s energy efficiency.
Measure Your Loft
The first step in installing loft insulation is to measure your loft to determine how much insulation you need. Measure the length and width of your loft space, then multiply these measurements to get the total area. You will need to know the depth of your existing insulation, if you have any, and add that to the depth of the insulation you plan to install. Doing this will give you the total R-value (insulation effectiveness) needed.
Choose Your Insulation Material
You can choose from several different types of insulation material when installing insulation in your loft. Some popular options include fibreglass, mineral wool, and cellulose. Each type of insulation has pros and cons, so it’s important to do your research before deciding which insulation is right for your home.
Fibreglass insulation is the most popular type of insulation for lofts. It is lightweight, easy to install, and has a high R-value. Mineral wool insulation is made from rock or slag and is slightly more expensive than fibreglass but is considered more eco-friendly. It comes in easy-to-install loft insulation rolls, which you can install quickly and easily. Cellulose insulation is made from recycled newspaper and is blown into the loft space.
Prepare Your Loft Space
Before installing insulation, you must prepare your loft space, which involves clearing any clutter, sweeping the floor, and ensuring no holes or gaps in the roof. You may also want to install a loft ladder if you don’t already have one, as this will make it easier to access your loft space in the future.
Install The Insulation
Once your loft space is prepared, it is time to start installing insulation. If you’re installing fibreglass insulation, wear protective clothing, such as gloves, a mask, and goggles, as fibreglass can irritate the skin and eyes. Cut the insulation to size, and lay it out between the joists, ensuring that it’s pushed right up against the eaves and that there are no gaps.
If you’re installing mineral wool insulation, it is heavier than fibreglass and can be harder to cut. But installation method is similar to fibreglass.
Cellulose insulation is often blown into the loft space with a machine. It requires a professional insulation installer. It is also important that the insulation is installed evenly and to the correct depth.
Finishing Up
Once you’ve finished installing the insulation, it’s time to tidy up. Remove protective clothing, and seal any gaps around pipes, wiring, and vents with foam sealant or caulking. Finally, return any items you removed from your loft space, and close the loft hatch.
Installing insulation in your loft can be a great way to improve your home’s energy efficiency. By following these steps, you can install insulation safely and effectively, helping you to save money on your energy bills and keep your home more comfortable year-round.


Comments are closed.